Hagamos una de las flores de fieltro que más me gustan, es muy fácil.
Let’s make one of my favourite felt flowers, it’s very easy.
The steps are the following:
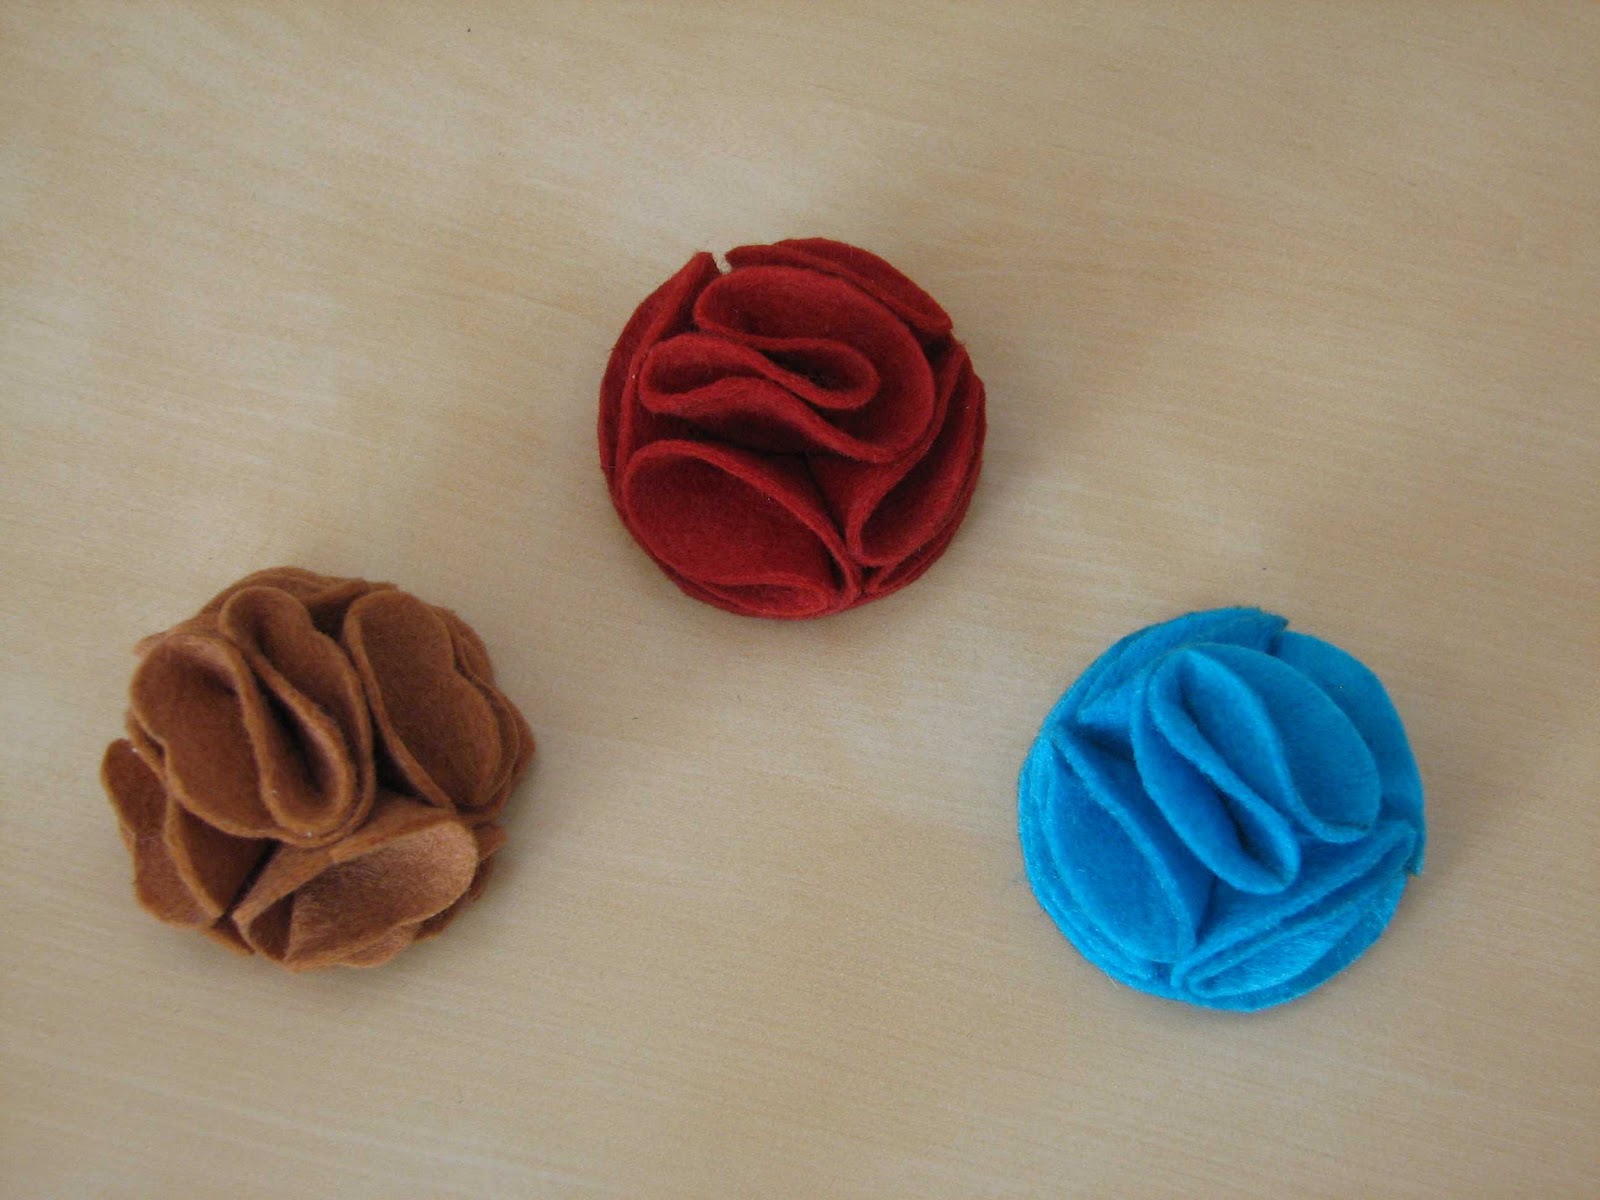
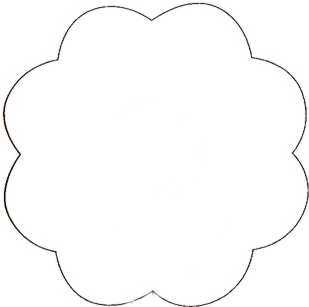
1- Among the flowers you see in the photo, the red and the blue one are the same. The brown one only changes the shape of the template: instead of using circles, cut pieces in the shape of a flower. In both cases we need six. I have drawn them approximately 2″ diameter, but adapt them to your taste or the use that you are going to give them.


2- Fold five of the pieces in half and then fold in half again and stick them to the center at every step with a bit of silicone or special glue for fabric.


3- Then, stick four pieces to the circle or to the unused flower, which serves us as base. In order that the flower gets relief, you must put glue only on the tip of every piece. Place them as in the photo: the tip at the center of the base and the edge coinciding with the edge of the base.


4- And finally glue the unused piece to the center:


It’s ready!

4 comentarios
Es muy bonita. Creo que lo voy a intentar.
Saludos y buen día.
Hola, muy bonita.Me gustan muchos las manualidades, en especial las que utilizan materiales reciclados. ¿Me podrías decir si con tela también funciona?
gracias
Margary, te aconsejo que la hagas, es fácil y queda preciosa.
Saludos.
Hola, Gaia. Se puede hacer con tela, de hecho lo hice el verano pasado y lo expliqué aquí: http://deshilachado.blogspot.com.es/2011/07/tutorial-horquilla.html.
Saludos.