Quería renovar mis agarradores de cocina, así que he aprovechado para hacer un nuevo tutorial.
I was thinking about renewing my pot holders, so I’ve taken the opportunity to make a new tutorial.

1- For a 6.2’’ x 6.2’’ pot holder, cut two squares of wadding and two of fabric with this measure (plus a margin in the case of the fabric) and a strip of fabric 3.1’’ x 1.6’’.

2- Fold the strip of fabric leaving the wrong side out and sew it lengthways. Then turn the inside out with a safety pin.


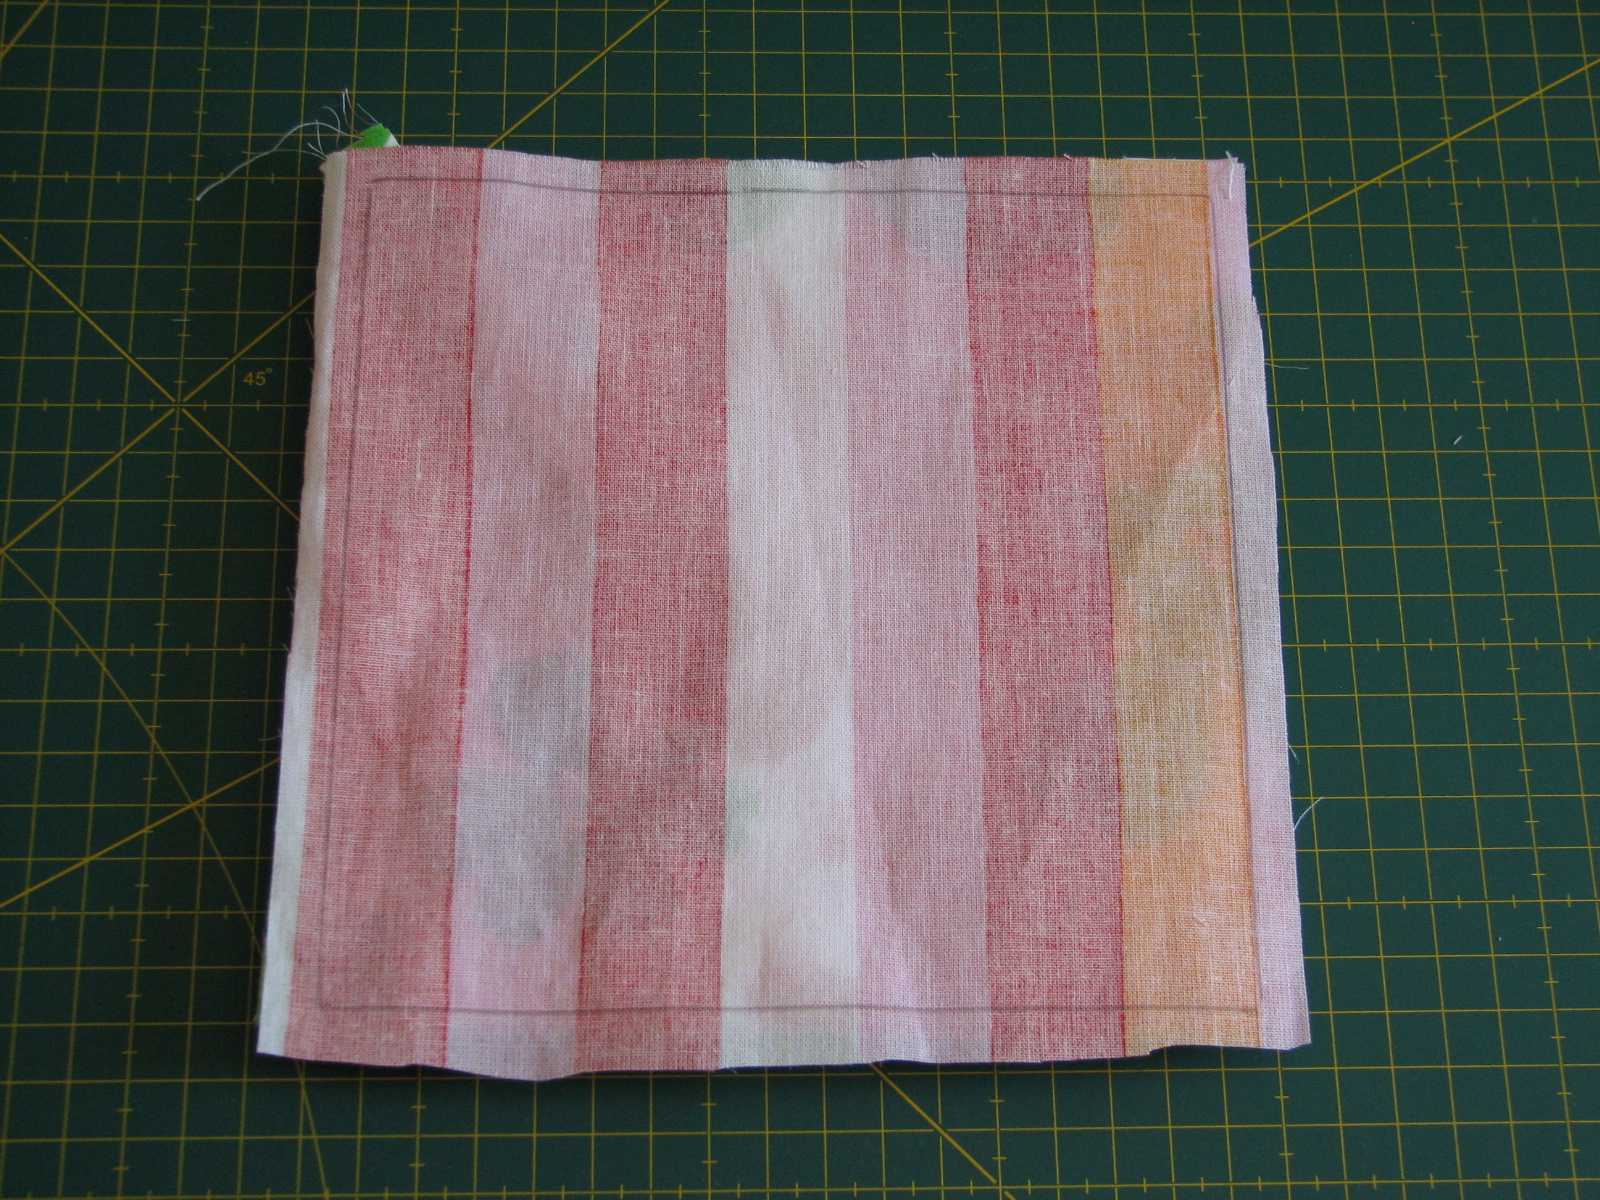
3- Place, one on top of the other and in this order, both pieces of wadding and the fabrics, matching them by the right side. And between the fabrics, in a corner, place the strip folded in half, as in the photo.


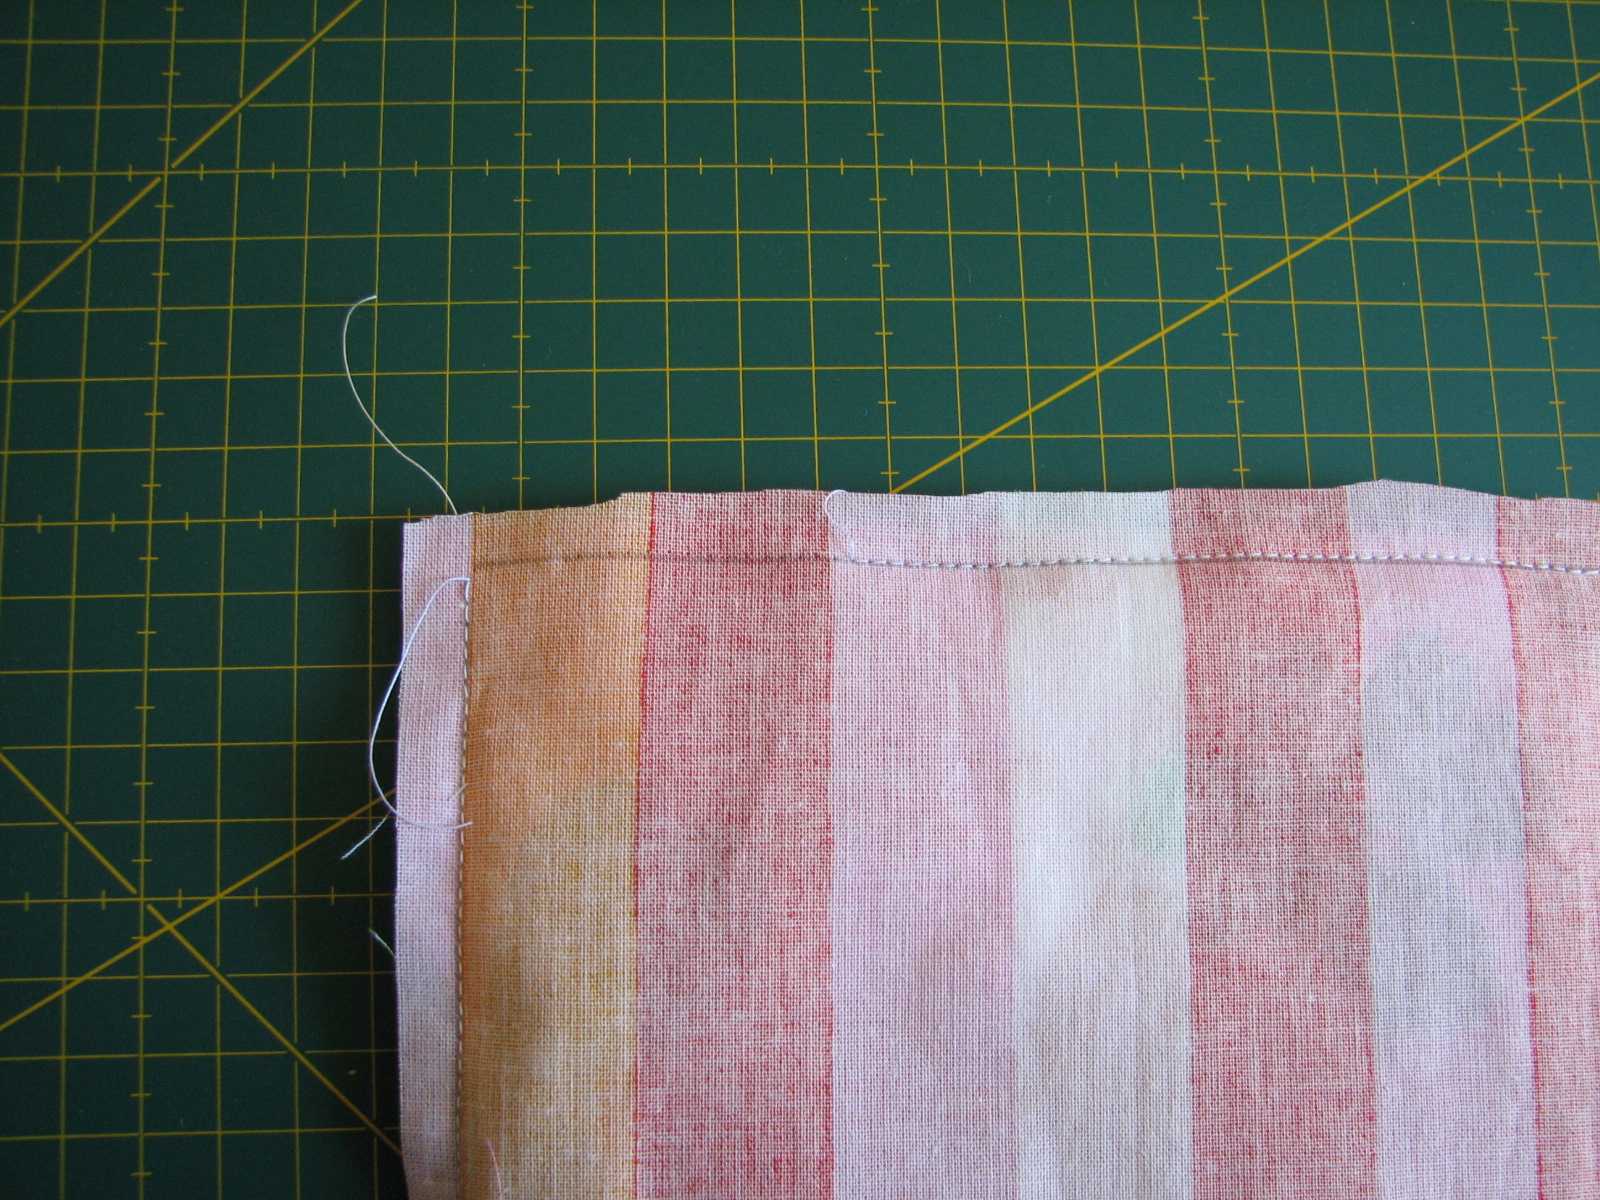
4– Cosemos juntas todas las capas por el borde dejando una abertura para darle la vuelta.
4- Sew together all the capes by the edge leaving an unstitched part to turn the inside out.
5– Antes de darle la vuelta, cortamos las puntas para que no hagan bulto, como en la foto.
5- Before turning the inside out, cut the corners, as in the photo.

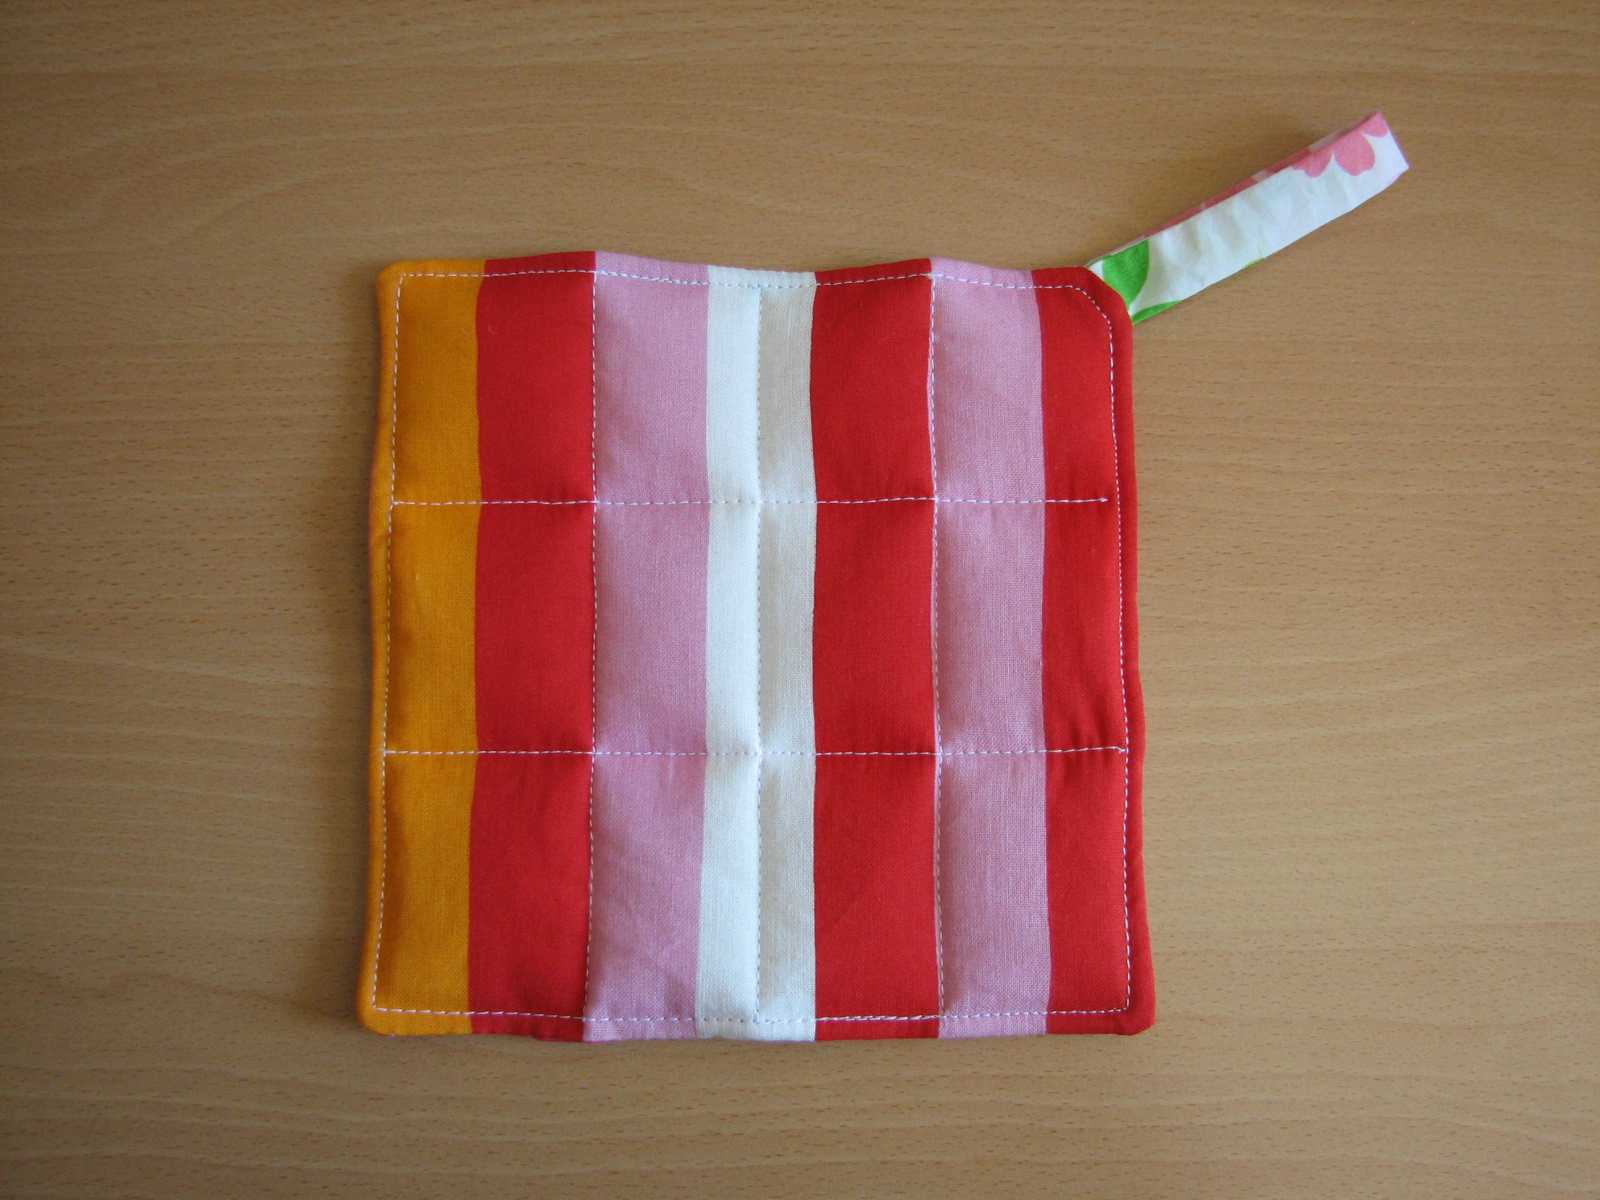
6– Cerramos a punto escondido y acolchamos a gusto.
6- Close with hidden stitch and quilt to taste.


7 comentarios
Howwwww, me ha encantado, tanto el tutorial(muchas gracias, que bien explicado, es superfácil)como el diseño y tela de tu agarrador. BESITOS
Gracias, es una labor realmente divertida.
Besos
Hola
estoy empezando a coser y he hecho estos agarradores. El tutorial está muy bien explicado y me han quedado muy chulos. Muchas gracias!!
Ah, me estrené con la máquina de coser haciendo tu bolsita de labores (http://blog.deshilachado.com/2012/06/tutorial-bolsita-de-labor-sewing-bag.html)
que bien que me va haber descubierto tu blog!!
Júlia
¡Cuánto me alegro, Júlia! Para lo que necesites escríbeme. Estamos en contacto.
Saludos.
Muchisimas gracias por el tutorial no hay nada como comenzar hacer estas cosillas pues nunca he cosido y esto me entretiene bastante un saludo.
Buenas noches que bonito. Tienes otros tutoriales sobre artículo de cocina como vestidos de licuadoras, etc.? Gracias.
@Thamar Maira Creo recordar que no pero mira en la página de tutoriales 🙂