I’m making some works with fabric, felt, embroideries,… a bit of everything. Some of them are inspired by works in paper I liked and others by motifs I have in my mind for a long time.

This one is the first work inspired by this paper composition I saw on Craftiness is not Optional.

We need some fabrics, fine interlining special for appliqués and a frame. You may download in PDF my templates for the balloon here.

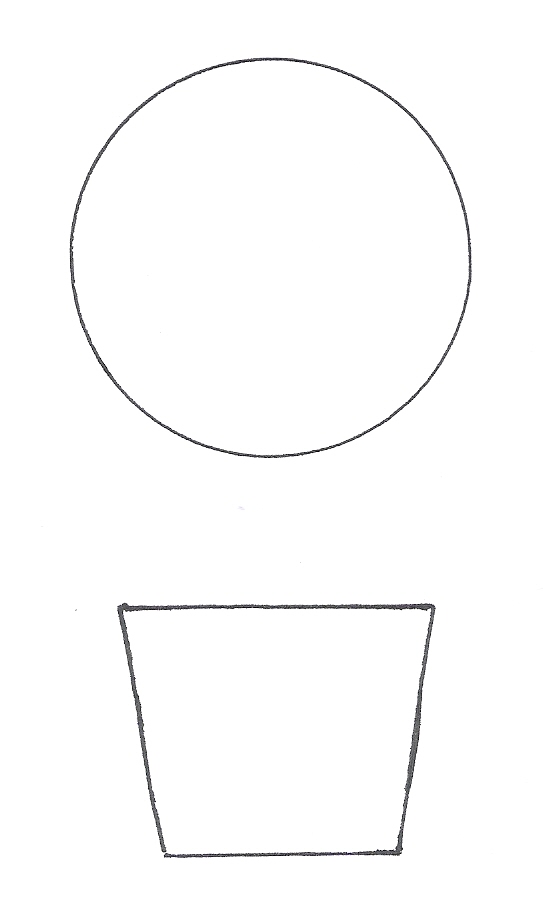
1- We’re going to make appliqués in blanket stitch (I explained how to make it in this tutorial, where you will find information about the interlining and others). Draw the templates on the reverse of the fabrics, the basket of the ballon once and the circle three times. Add the interlining on the basket and on two of the circles, sticking it with the iron.

2- Stick one of the circles and the ballon on the base cloth and embroider them using blanket stitch. My frame is 3.9’’ x 5.9’’, so I cut a piece a little bigger.


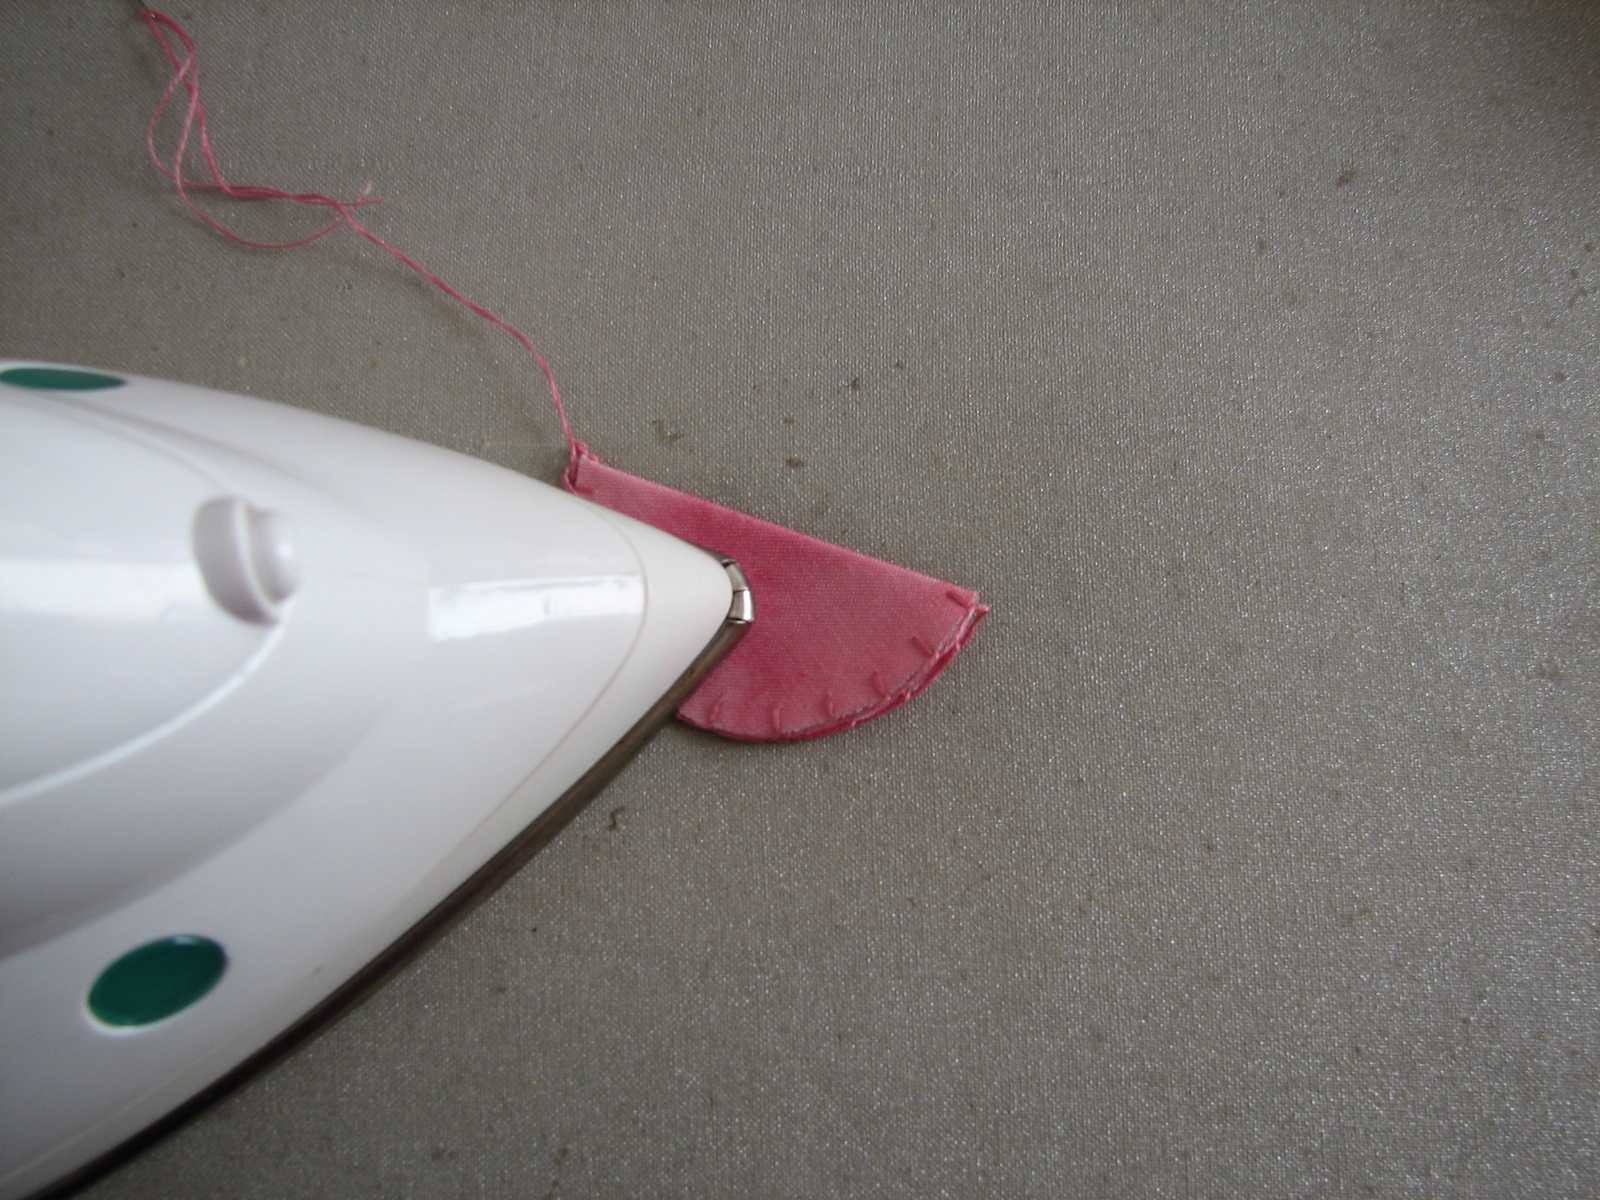
3- Next, stick another circle on the same fabric, matching both by the reverse side. Trim and embroider in blanket stitch. Then iron folding in half.

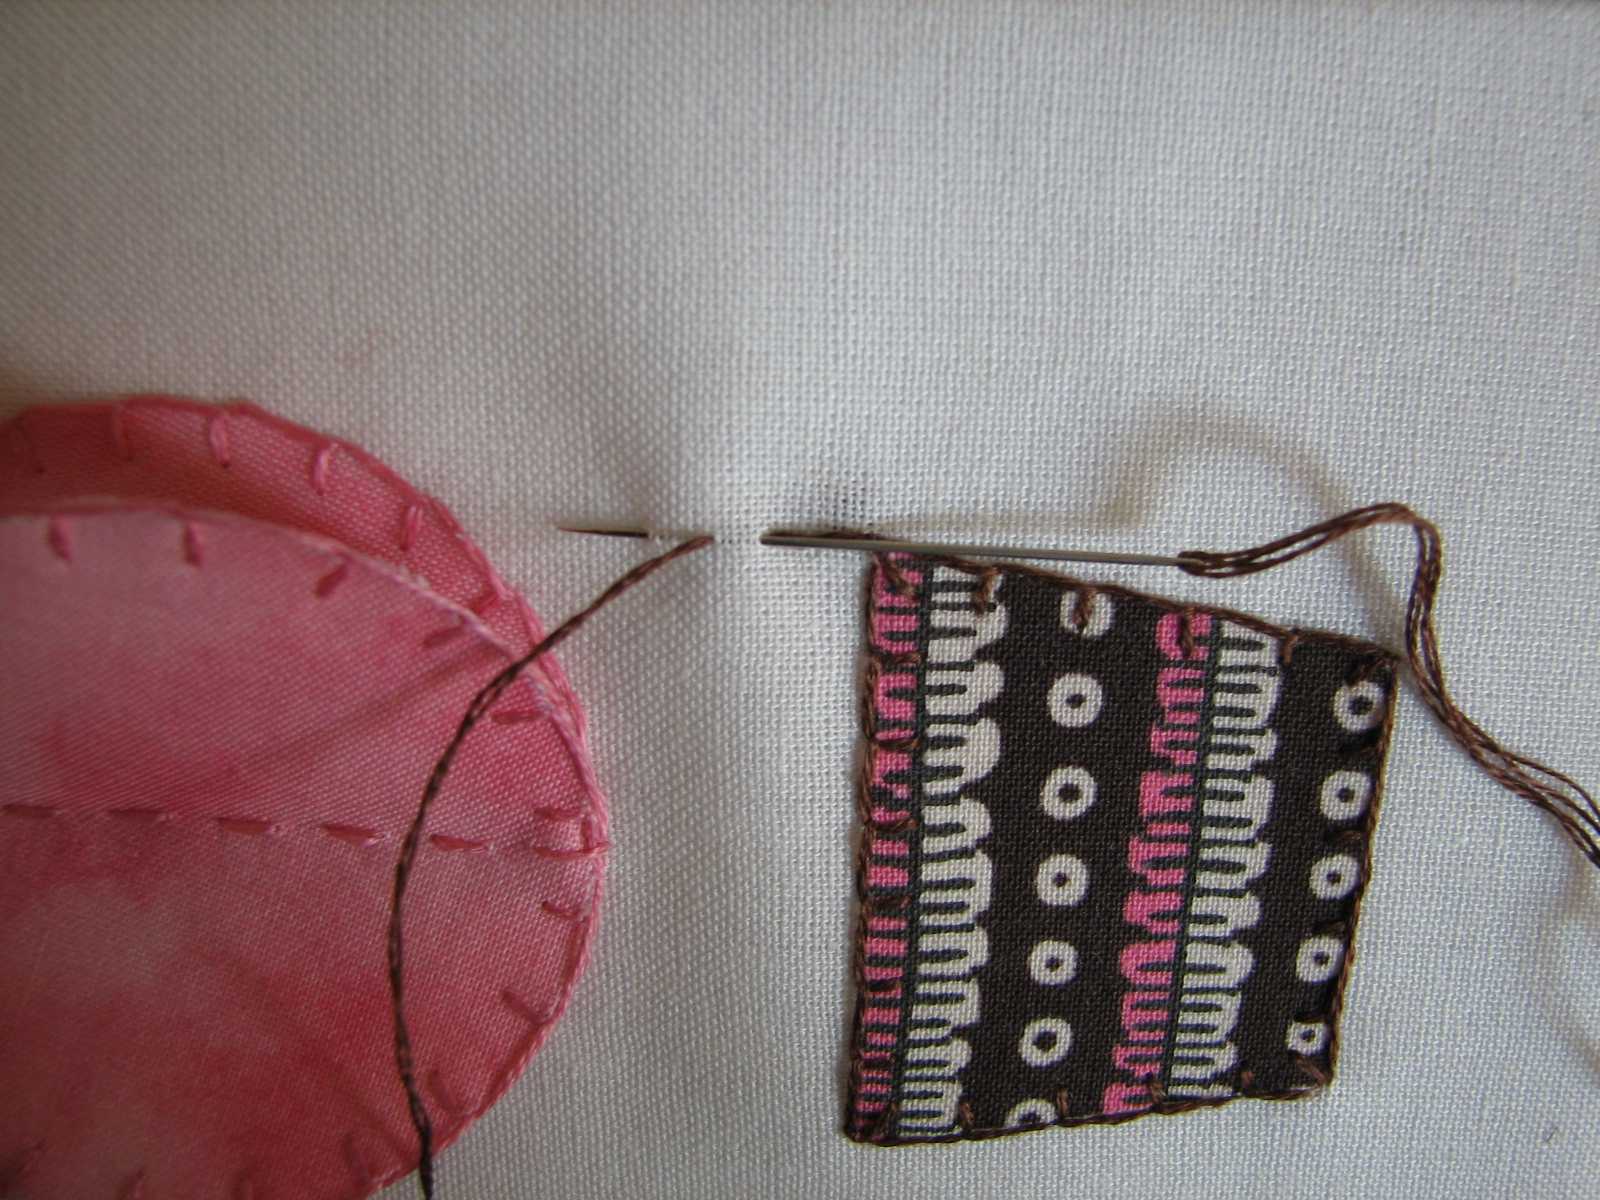
4- Later, sew the circle on the fold using running stitch, as in the photo.

5- And embroider the ropes of the balloon using backstitch.
6- To place the fabric on the frame, remove the glass, wrap the cardboard with the fabric and place it again. I stitched the corners and I’ve added packing tape so it won´t move:

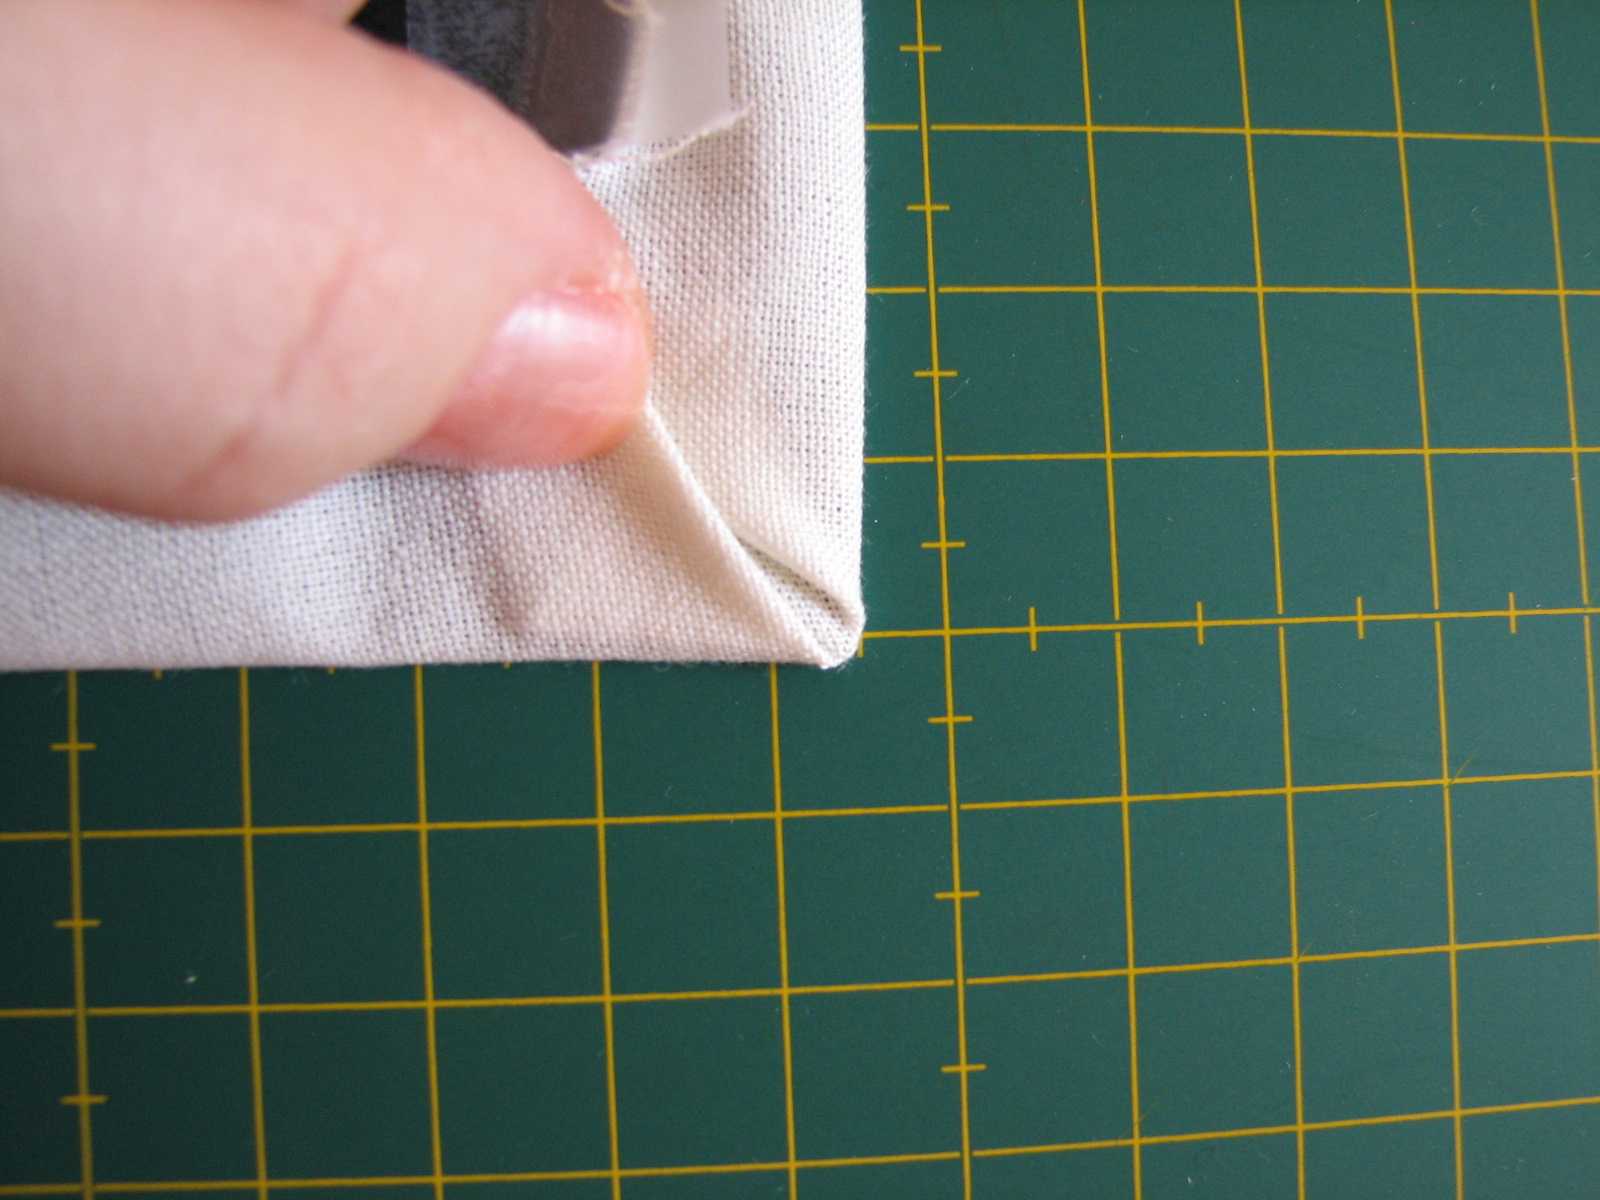


Ready!

5 comentarios
Buen trabajo amiga, es precioso y muy decorativo.
Un besazo
http://elpalaciodemartin.blogspot.com/
@El Palacio de Mart�n Gracias. Y es sencillo, anímate.
Besos.
Que sencillo y bonito!
@Floreal ¡Gracias!
Besos.
COMO ME ALEGRO DE HABERTE ENCONTRADO.
TU BLOG ES GENIAL!!!!
LIDIA.