Have you everything ready for back to school? My daughter needed a small pencil case for her Music classes, so she has chosen the fabrics she preferred and I have started to work. I have decided to make something simple because I don’t have much time. So I believe that this is a perfect needlecraft for a tutorial.

1– Mide 20,5 cm. x 7 cm., por lo que necesitamos cortar las siguientes piezas de tela:
1- It measures 8’’ X 2.7’’, so we need to cut the following pieces of fabric:

Yo he combinado dos telas distintas. Hay que cortar también una pieza de 50 cm. x 7 cm. y otra de 7 cm. x 1,5 cm. de entretela.
I have combined two different fabrics. We also need to cut a piece of interlining 19.5’’ x 2. 7’’ and other one 2.7’’ X 1.35’’.

2– Una vez cortadas las piezas, cosemos las dos grandes haciendo coincidir el lado derecho de las telas y dejando dos huecos de unos 2 cm. en los lados largos del rectángulo a unos 3 cm. de uno de los lados cortos. Ahí pondremos la tira para cerrar el estuche.
2- Once the pieces are cut, sew the two larger ones matching the good side of the fabrics and leaving two unstitiched holes about 0.8’’ on the longer sides of the rectangle at approximately 2.7’’ from one of the shorter sides. There we will add the strip to close the case.


3– Después cortamos las esquinas como veis en la foto anterior y pegamos la entretela en la tela interior del estuche, en mi caso la azul.
3- Then cut the corners as you can see in the previous photo and stick the interlining on the inside fabric of the case, in my case the blue one.
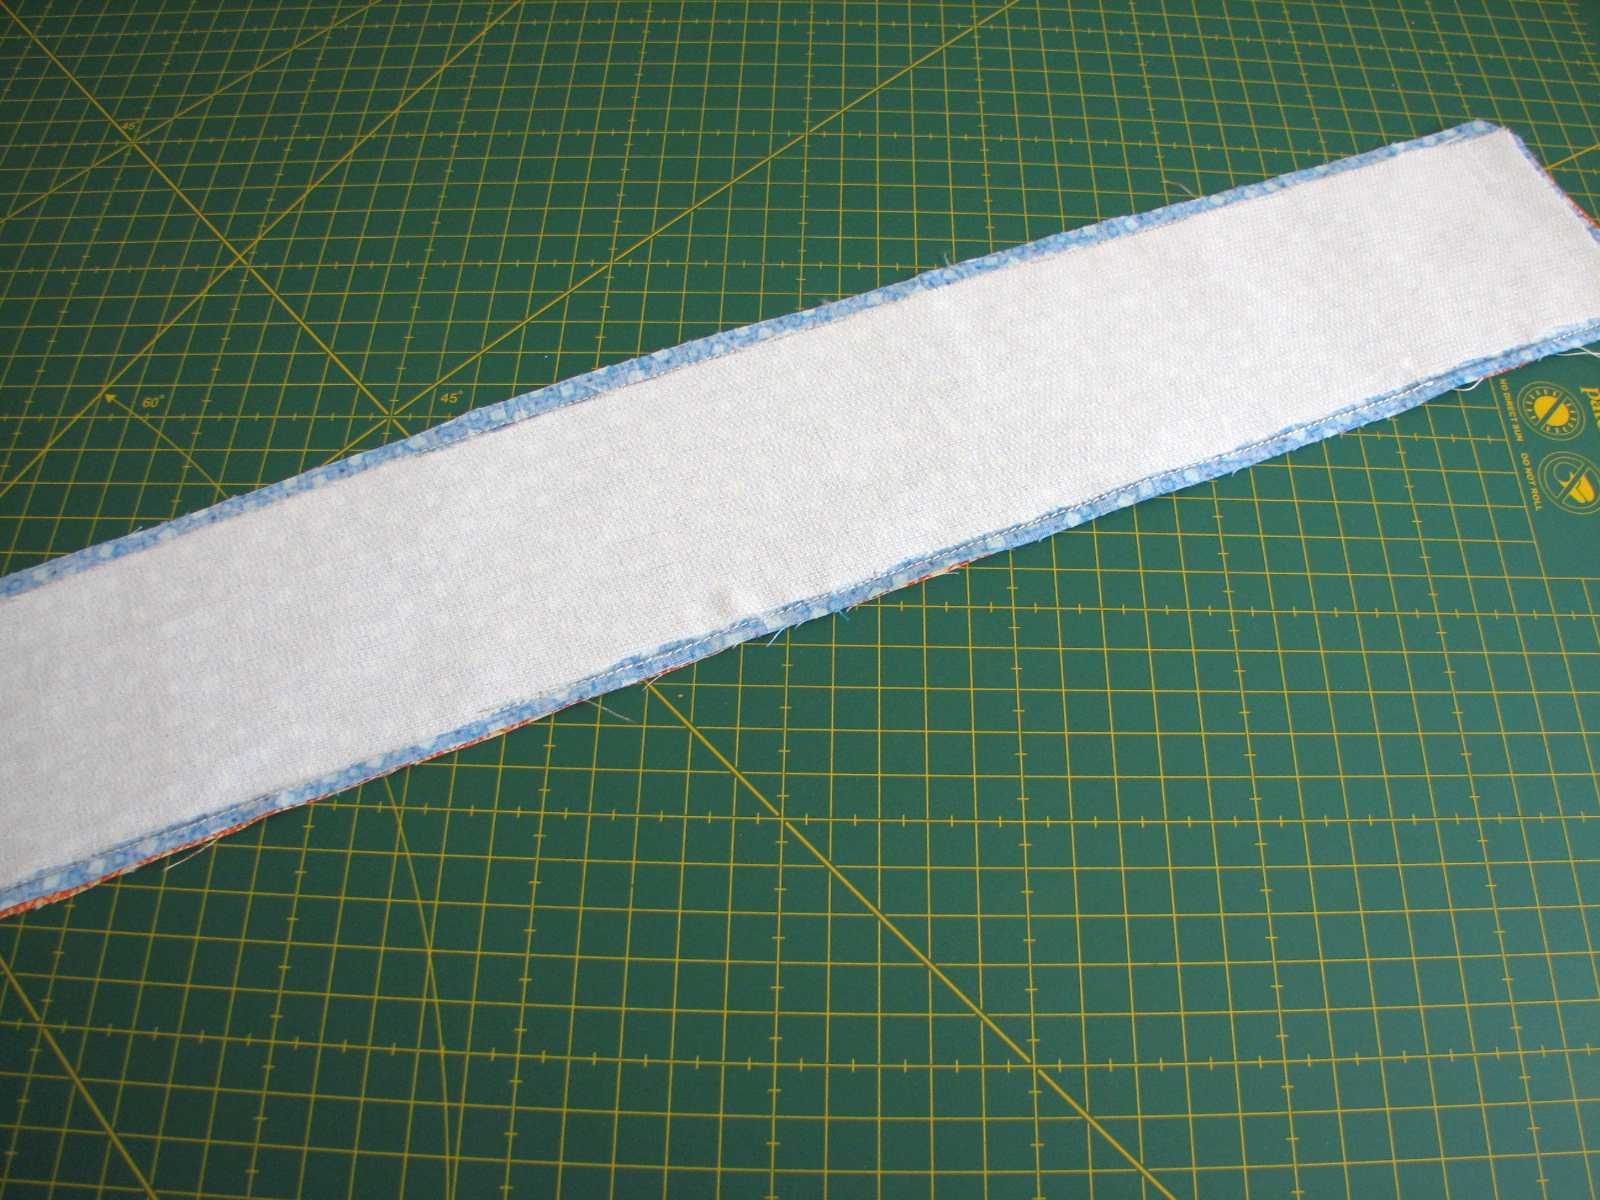
4– A continuación, le damos la vuelta aprovechando uno de los huecos y planchamos bien todo el borde.
4- After, turn the inside out through one of the holes and iron the edge well.

5– Por otro lado, doblamos por la mitad la pieza pequeña de tela dejando el revés por fuera, cosemos el lado largo, pegamos la entretela y le damos la vuelta con ayuda de un alfiler. Luego la planchamos dejando la costura en medio de uno de los lados.
5- Fold by half the small piece of fabric leaving the reverse outside, sew the longer side, stick the interlining and turn the inside out with a pin. Then iron it leaving the seam in the middle of one of the sides.

6– Metemos los bordes de la tira por los huecos del rectángulo grande y planchamos el estuche dándole la forma definitiva. Entonces pasamos un pespunte por todo el borde, como en la foto.
6- Put the edges of the strip through the holes of the big rectangle and iron the case giving it its final shape. Then sew a backstitch on the edge, as in the photo.


Ya lo tenemos.
And we got it.

2 comentarios
Muy bonito y práctico! Besos!
@Sylvie Cr�ative – Cr�ations Ma D�co Maison Gracias, Sylvie.
Besos.