Do you remember the expectation when we opened the letters arrived in the mailbox? Now it happens with the e-mails, but I miss the envelopes. I remember how excited I felt when I prepared them and place the stamp or the pleasure of receiving letters from my friends or the moments of intimacy with my grandmother reading the letters my grandfather sent her when they still were boyfriend/girlfriend … Well, I feel nostalgic so I thought I could make an “envelope-purse”.

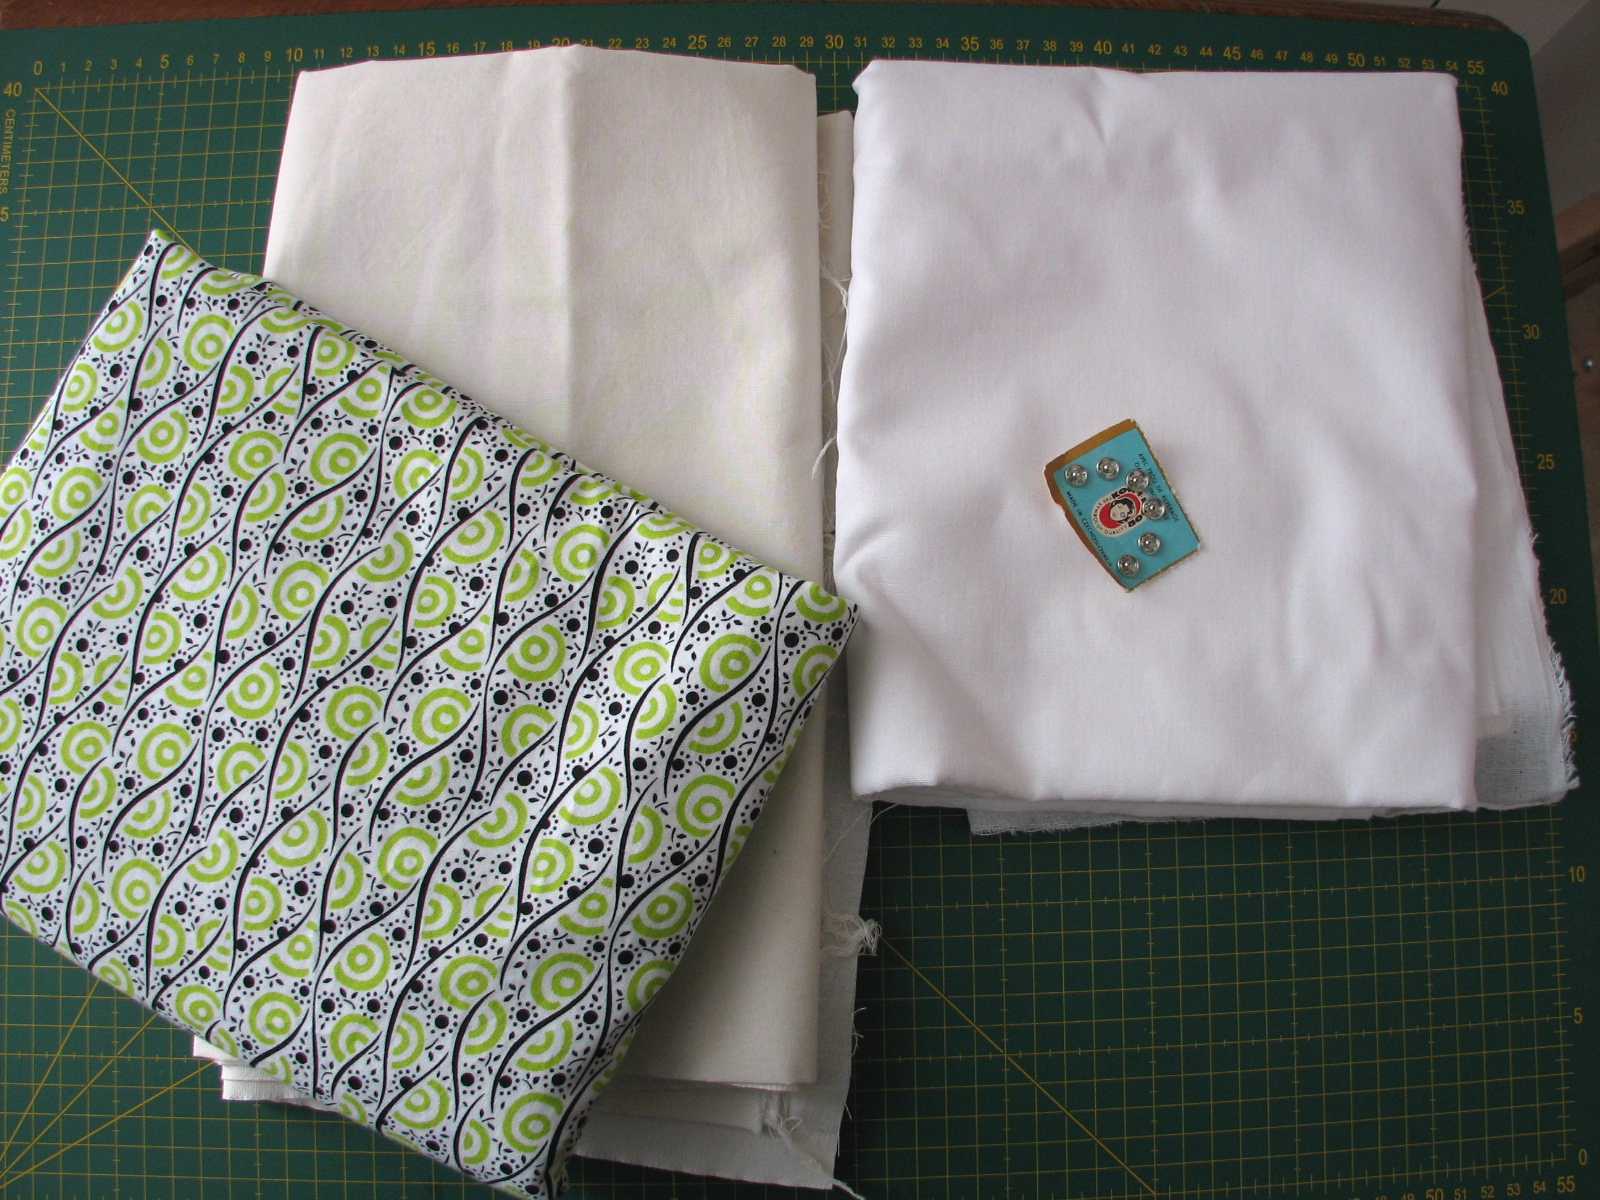
We need two fabrics -the outer and another for the lining-, interlining and a hook.
1– Para darle la forma al sobre tenemos que dibujar un rombo. El mío tiene unas medidas entre los vértices de 18 cm. y 24 cm. Se puede dibujar directamente en las telas y la entretela. Al cortar dejamos un margen de 1 cm. en las telas, en la entretela no.
1- To give shape to the envelope we have to draw a rhombus. Seize of mine between vertexes is 7.1’’ and 9.5’’. It’s possible to draw directly on the fabrics and the interlining. When cutting, leave a margin of 0.4’’ on the fabrics, not on the interlining.


2– A continuación pegamos la entretela en el revés de la tela exterior y cosemos las telas haciéndolas coincidir por su lado derecho y dejando un hueco de unos 2 cm. para darle la vuelta.
2- Next stick the interlining to the back of the outer fabric and sew the fabrics matching the right sides and leaving an unstitched part of about 0.8’’ to turn the inside out.


3– Después volvemos las telas del derecho, cosemos el hueco con punto escondido y planchamos, primero los bordes y luego dándole la forma de sobre.
3- Then turn the fabrics the right out, sew the hole using hidden stitch and iron, first the edges and then shaping it as an envelope.


4– Nos queda coser “el sobre” por los bordes (como en la foto) y poner el corchete. Yo he adornado el monedero con un sello. ¿Bonito, verdad?
4- Finally stitch the “envelope” edges (as in the photo) and add the hook. I have decorated the purse with a stamp. Nice, isn’t it?


6 comentarios
Qué bonito!
Saludos,
Gracias. A mi hija también le ha gustado… se lo ha llevado hoy, ya veremos si me lo devuelve o me tengo que hacer otro.
Me parece genial para guardar las tarjetas
Gracias por la idea
Saludos
@EvaDe nada. ¡Saludos!
Que tela mas mona, gracias por el tutorial, es muy practico, besos.
@silvia La encontré en unas rebajas y me pareció preciosa.
Besos.