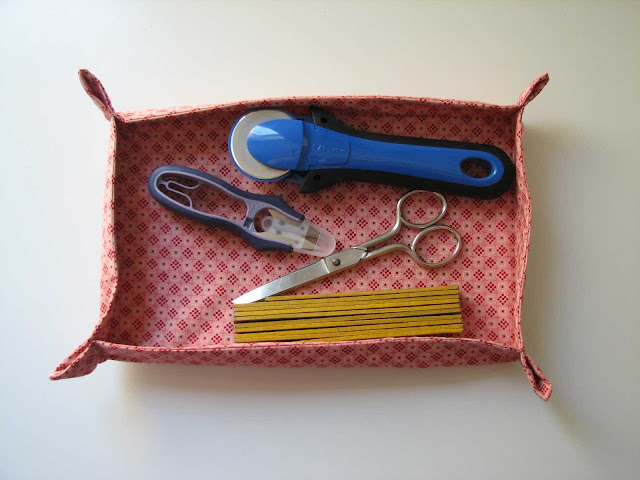
Hoy vamos a hacer una bandeja de tela, algo útil, decorativo y fácil de confeccionar.
Today we are going to make a fabric tray, something useful, decorative and easy to do.
Necesitamos tela y para rellenar la base podéis elegir entre varios materiales, desde guata hasta láminas de plástico más o menos gruesas. Yo la he empleado una lámina de plástico semigruesa.
We need fabric and you can choose between different materials to fill the base, from wadding to a more or less thick plastic sheet. I have used a medium plastic sheet.
1– Cortamos dos piezas de tela en rectángulo del tamaño que deseemos, las dos iguales. Mi bandeja tiene una base de 30 cm x 20 cm y los laterales de 3 cm. Así que mis rectángulos son de 36 cm x 26 cm, más un pequeño margen.
1- Cut two pieces of fabric into rectangles the size you wish, both equal size. My tray has a base 11.7” x 7.8” and the sides are 3 cm. So my rectangles are 36 cm x 26 cm, plus a small margin.
2– Encaramos los derechos y cosemos todo el borde excepto un trozo por el que daremos la vuelta a la pieza. Después cortamos las esquinas como en la foto.
2- Match both rights and sew the whole edge except a little part to turn the inside out. Next cut the corners as in the picture.
3– A continuación le damos la vuelta, planchamos bien los bordes e introducimos el plástico o la guata de la base, la centramos en la tela, marcamos el contorno y lo cosemos.
3- Then, turn the inside out, iron well the edges and introduce the plastic sheet or the wadding in the base, mark the contour and sew it.
4– Ya sólo queda levantar los bordes cosiendo las esquinas como os muestro en la foto.
4- Finally, raise the edges sewing the corners as I show you in the picture.
Fácil, ¿verdad?
Easy, isn’t it?
4 comentarios
gracias, muy util.Bicos
Hola, me gusta mucho tu blog, lo he descubierto de casualidad, me quedo para seguirte. Un tuto muy bueno, besos
@Angeles Gracias, encantada de conocerte, Ángeles.


4 comentarios
gracias, muy util.Bicos
Hola, me gusta mucho tu blog, lo he descubierto de casualidad, me quedo para seguirte. Un tuto muy bueno, besos
@Angeles Gracias, encantada de conocerte, Ángeles.
Muy chulo y parece practico, gracias!