Continuando con el anterior post sobre como realizar las aplicaciones de patchwork, esta vez vamos a ver como se hacen con punto escondido. Con este sistema se obtiene un efecto de volumen.
Continuing with my previous post about how to make appliqués for patchwork, now we are going to see how to make them using hidden stitch. With this stitch we can obtain the effect of giving relief to the work.


Lo primero es pasar el dibujo que queremos realizar al revés de la tela utilizando una plantilla de cartulina o de papel. Recortamos la plantilla sin dejar márgenes de costura.
First copy the drawing we want to make to the back of the fabric using a cardboard or paper template. Cut out the template and do not add seam allowances.

Existe una entretela especial para este tipo de aplicaciones que se llama freezer paper. Si la utilizamos, dibujaremos en su revés. Después colocamos la parte del freezer paper con pegamento sobre el revés de la tela y lo planchamos sin vapor.
There is a special interlining for appliqués called freezer paper. Trace the pattern onto the freezer paper in reverse. Then place the plastic-coated side of the freezer paper against the wrong side of the fabric and iron it using a dry, hot iron.

A continuación recortamos la tela dejando un margen de costura de 1 cm. alrededor de la pieza.
Cut out the fabric adding a 0.4” wide seam allowance around the outside of the piece.
El paso siguiente, varía dependiendo de la forma de la aplicación: cuando es muy redonda o tiene muchas curvas, se le da unos cortes a la tela, se plancha envolviendo la plantilla y se hilvana para mantener la forma.
Next step depends on the appliqués shape: when it’s very round or has many curves make a few cuts to the fabric, iron wrapping the template and baste to keep the shape.
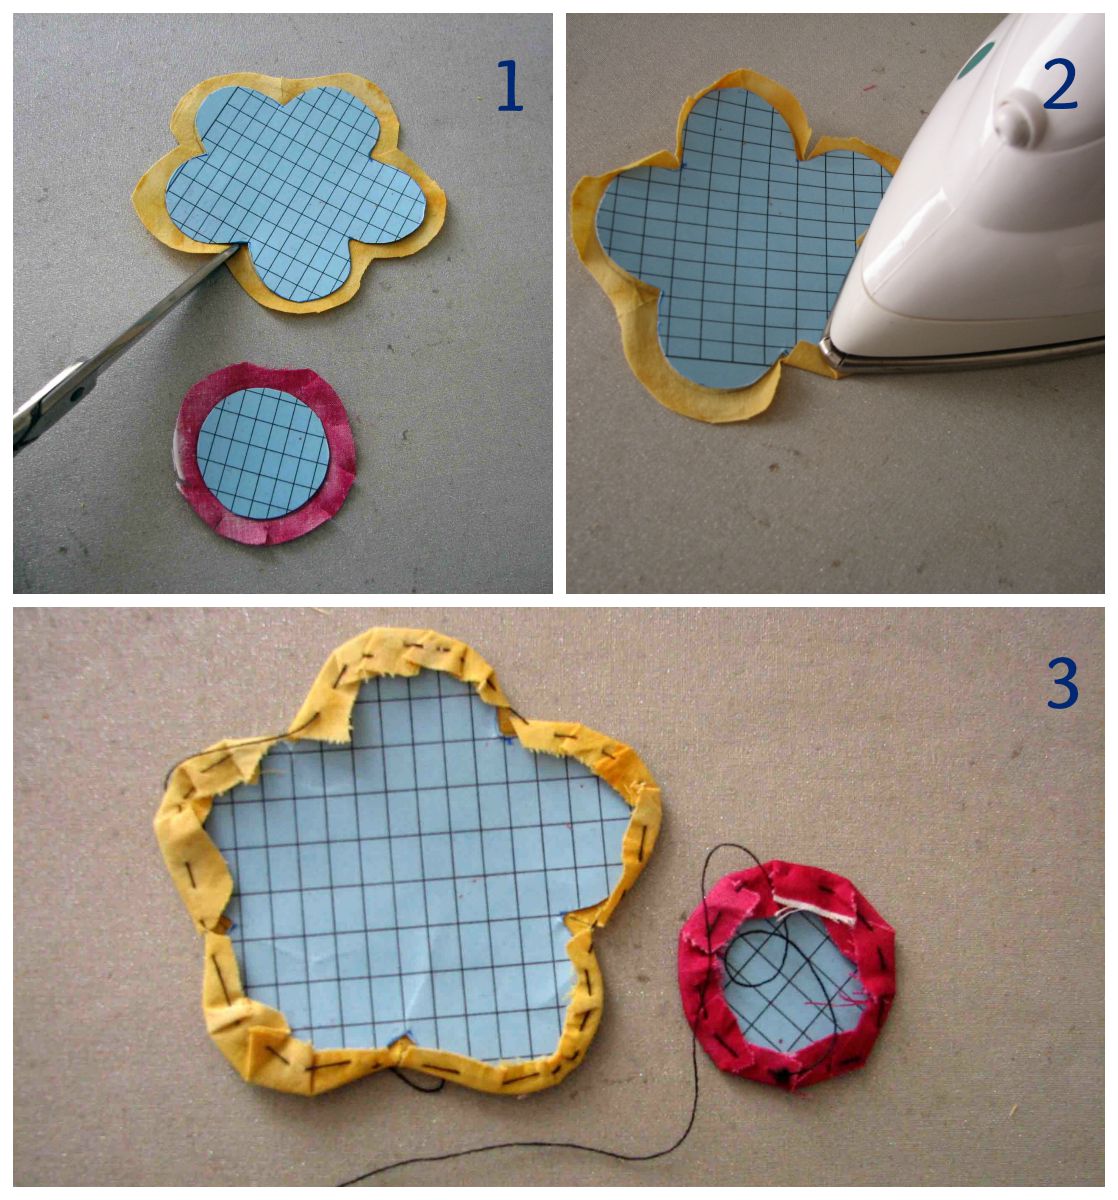
En los demás casos es más sencillo: se recorta haciendo cortes sólo donde hay ángulos “hacia dentro” y se pasa un hilván a medio centímetro del dibujo. Después se tira del hilván hasta que tome la forma de la aplicación y se plancha.
In other cases it is easier: cut out the fabric making cuts only where there are convex angles and a baste it at about 0.2” from the drawing. Then pull the basting until the applique shape is done and iron it.

Si utilizamos freezer paper no hace falta hilvanar.
If you use freezer paper it is not necessary to baste.

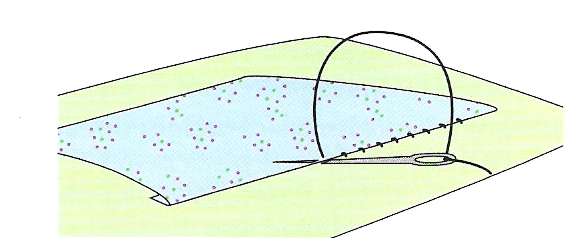
A continuación se cose la aplicación a la tela a punto escondido. Se trata de pasar la aguja por la tela inferior y después por la aplicación justo en el borde. Las puntadas deben ir muy juntas para que sean cortas y no se vean.
Next sew the appliqué to the fabric. Push needle through seam-allowance fold from the back and then pull it completely through the fold. The stitches must be very close so they are short and don’t show.
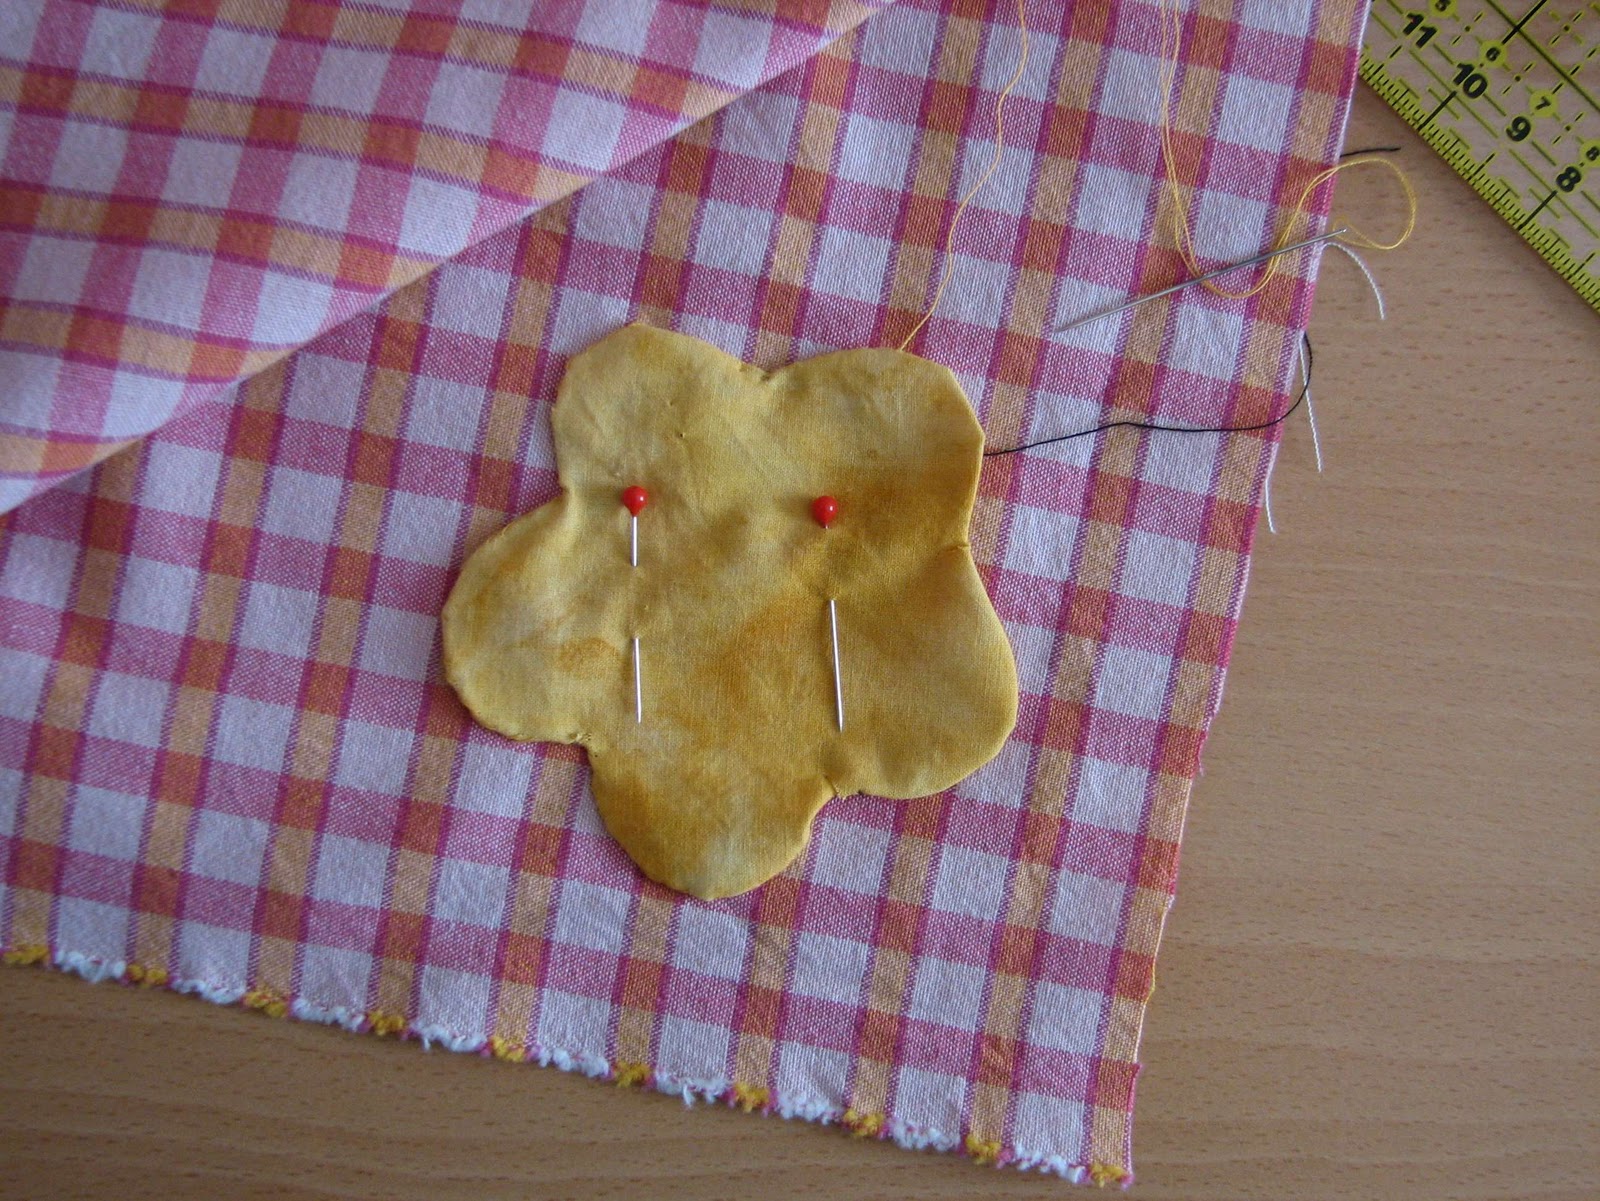

Para terminar se puede optar por dos sistemas. El primero es poner la aplicación sobre la tela cogiéndola con alfileres y dejando la plantilla (sólo si es de papel, no con las de cartón). Cuando ya esté cosida se hace un corte en la tela inferior por el centro de la aplicación para sacar la plantilla. Se suele hacer así en colchas u otras piezas acolchadas porque no se nota y no hay peligro de que se acabe desgarrando la tela.
To finish off you can use two different systems. The first one is placing the appliqué on the fabric with pins and leaving the template inside (only if it’s paper, not with the cardboard ones). When it’s sewed, make a cut to the lower fabric by the center of the appliqué to take the template out. It’s usually done this way on quilts or other quilted pieces because it doesnt’t show and avoids the fabric from ripping.
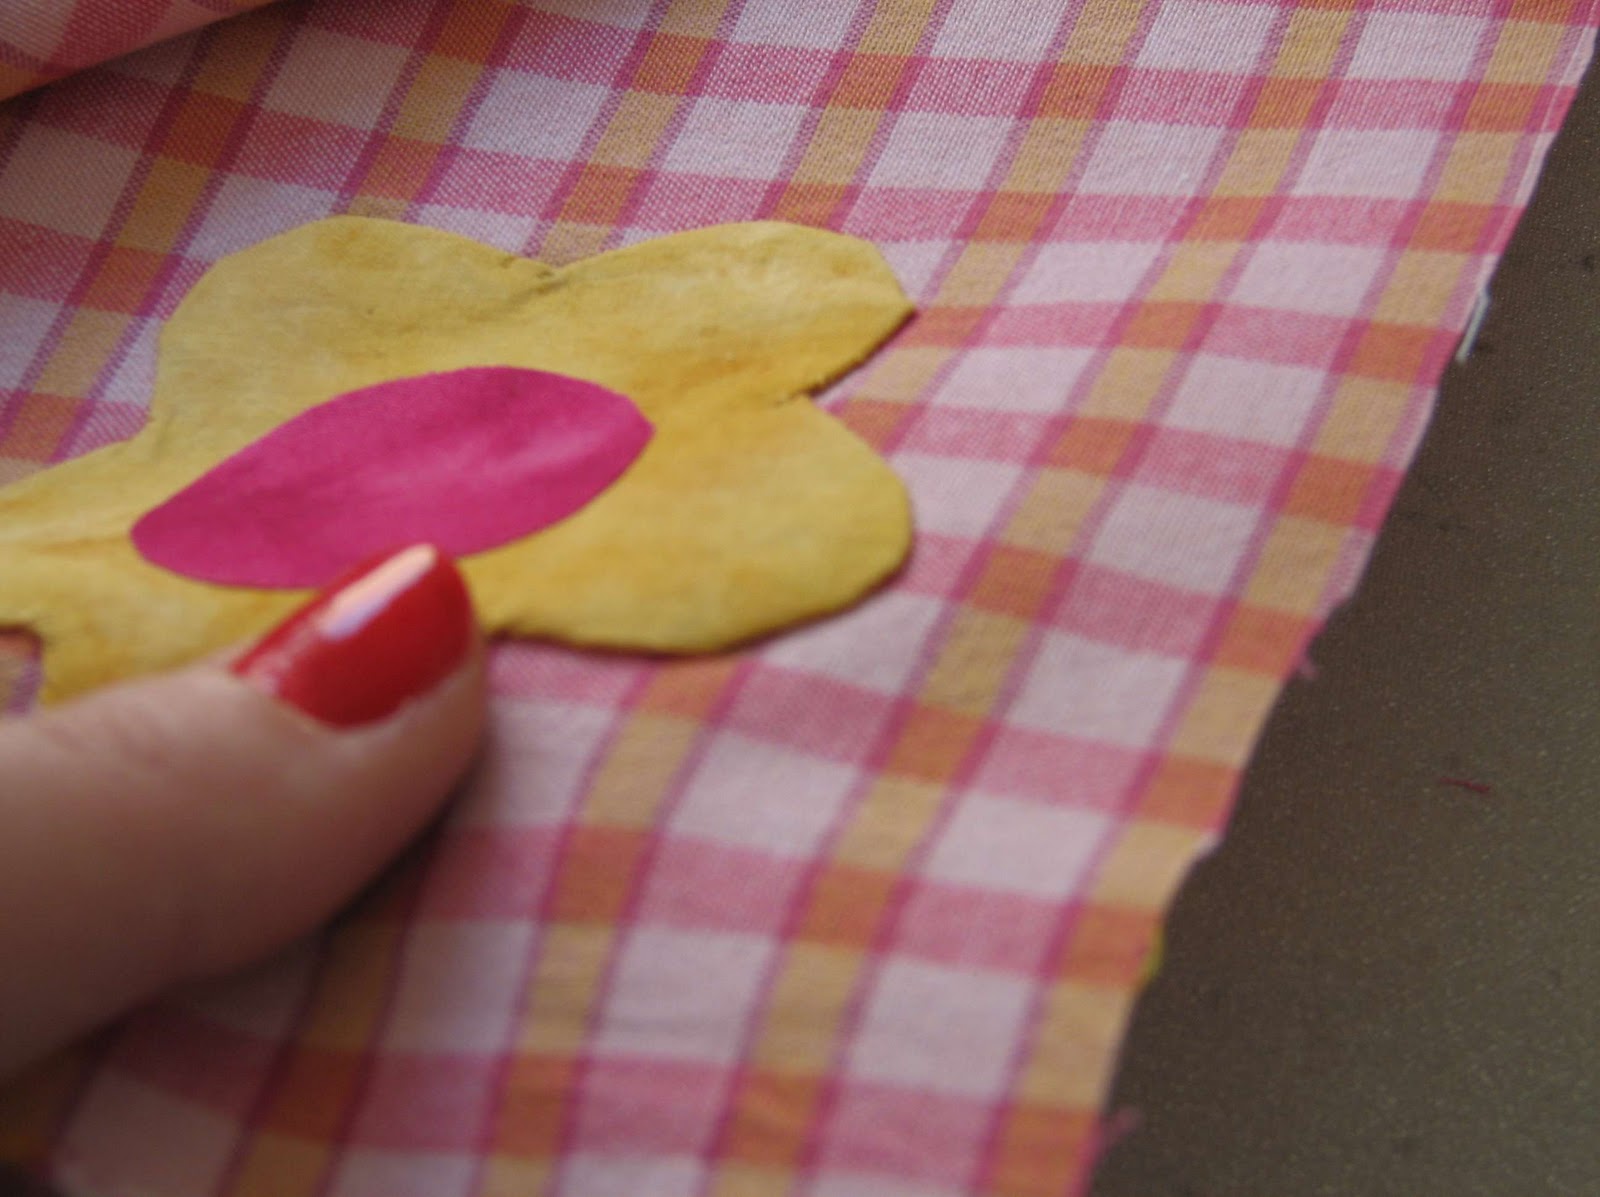
El otro sistema es quitar la plantilla, sujetar la aplicación con alfileres a la otra tela y coserla.
The other system is removing the template, holding the appliqué using pins to the other fabric and sewing it.


7 comentarios
muchas gracias me a servido para mucho
Me encantan tus indicaciones. Estoy iniciándome en el arte del patchwoek y tus lecciones me han sido muy útiles. Mil gracias.
@coni Me alegro mucho. Gracias, me animas a seguir 🙂
Hermoso????
Gracias por estas indicaciones muy buenas me ayudaron bastante
Me encanta es muy hermoso.
Exelente trabajo muchas gracias