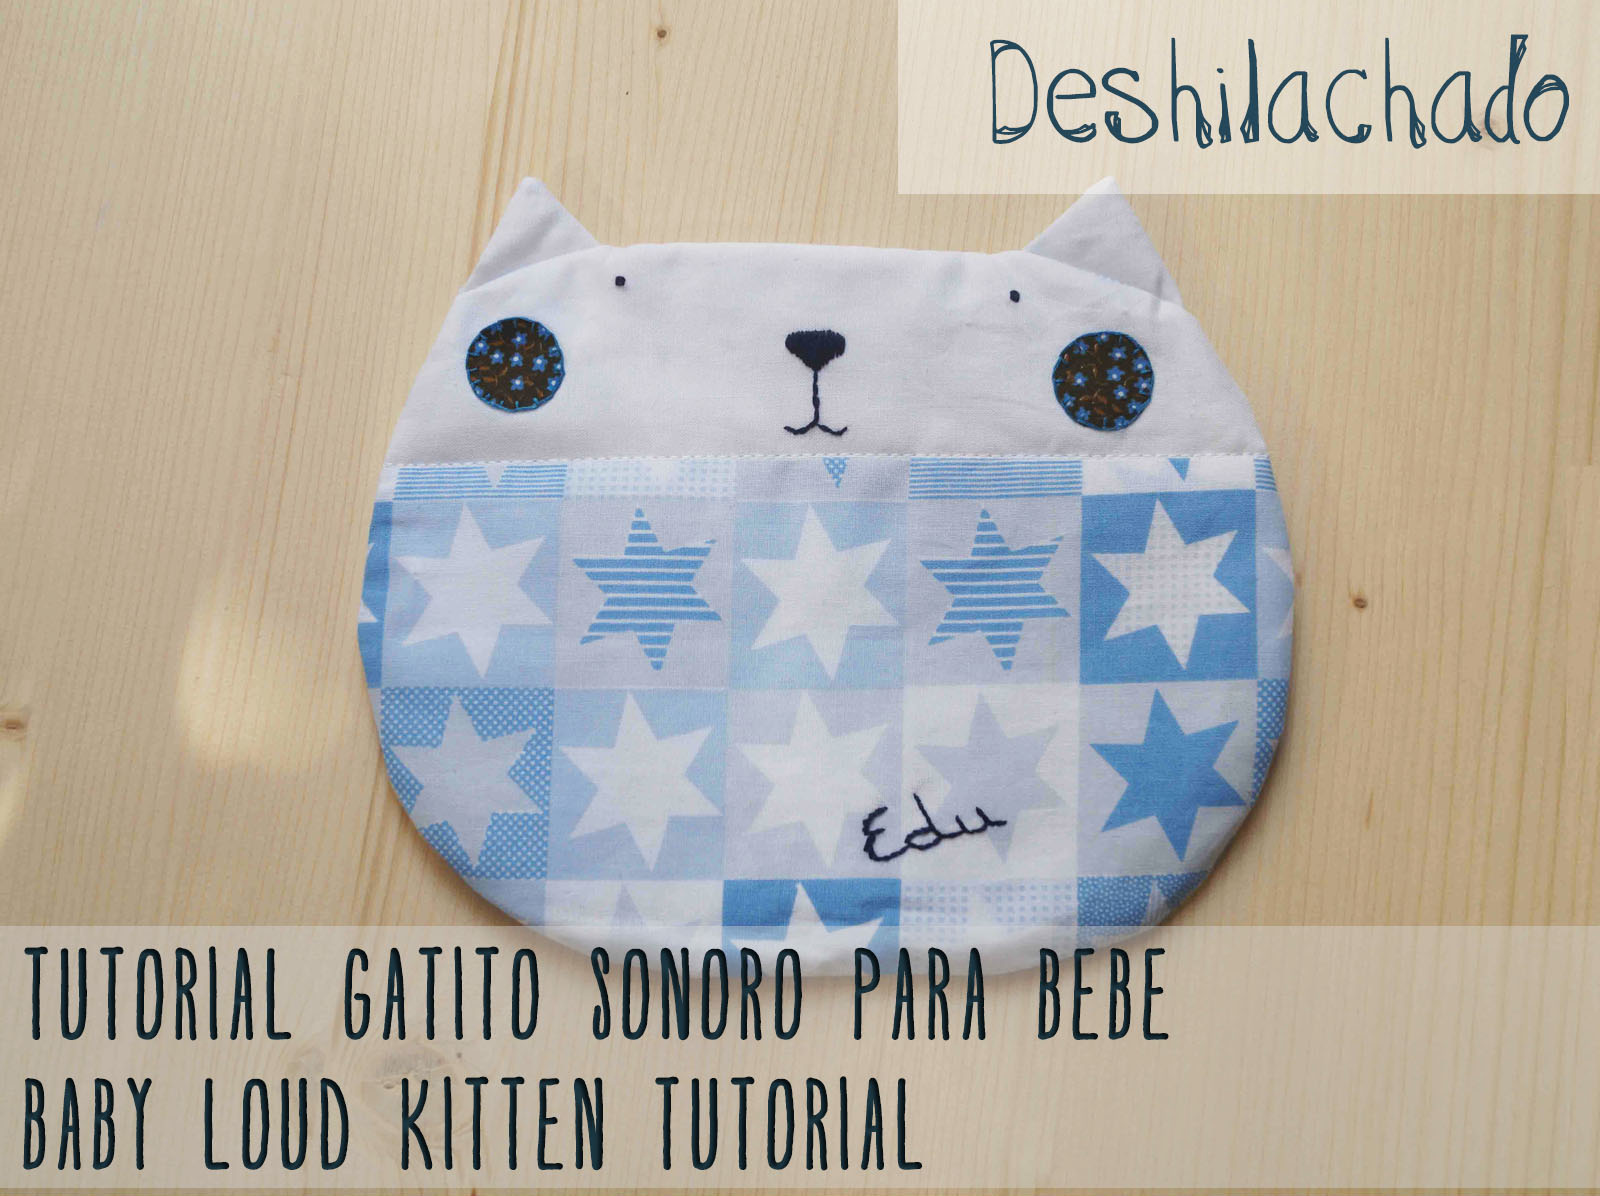
He hecho este gatito para un bebé y como es una labor bastante sencilla y resultona he pensado que puede gustaros.
I made this kitty for a baby and as it is a quite simple and cute needlecraft I think maybe you like it.
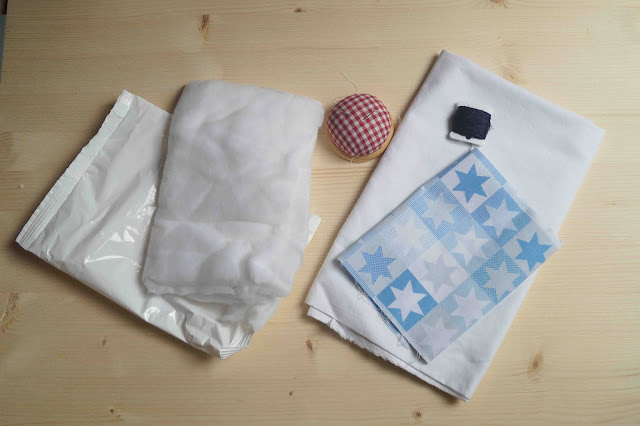
Necesitamos telas, hilo de bordar, guata, entretela fina de doble cara para aplicaciones y una bolsa de cereales (o cualquier otra que haga ruido).
We some need fabrics, embroidery thread, polyester filling, special thin interlining for appliqués and a bag of cereals (or any other one which makes noise).
1– Pasamos el patrón del gatito a las telas, dejando un margen de costura de 1 cm. Podéis descargar la plantilla aquí. Después, bordamos los ojos y el morro y cosemos las aplicaciones de los mofletes a punto de festón utilizando la entretela fina especial para aplicaciones. También he bordado el nombre del niño.
1- Copy the pattern of the kitty on the fabrics, leaving a seam allowance of 0.4’’. You may download the template here. Then, embroider the eyes and the knob and sew the appliqués of the cheeks in blanket stitch using special thin interlining for appliqués. I have also embroidered the name of the baby.
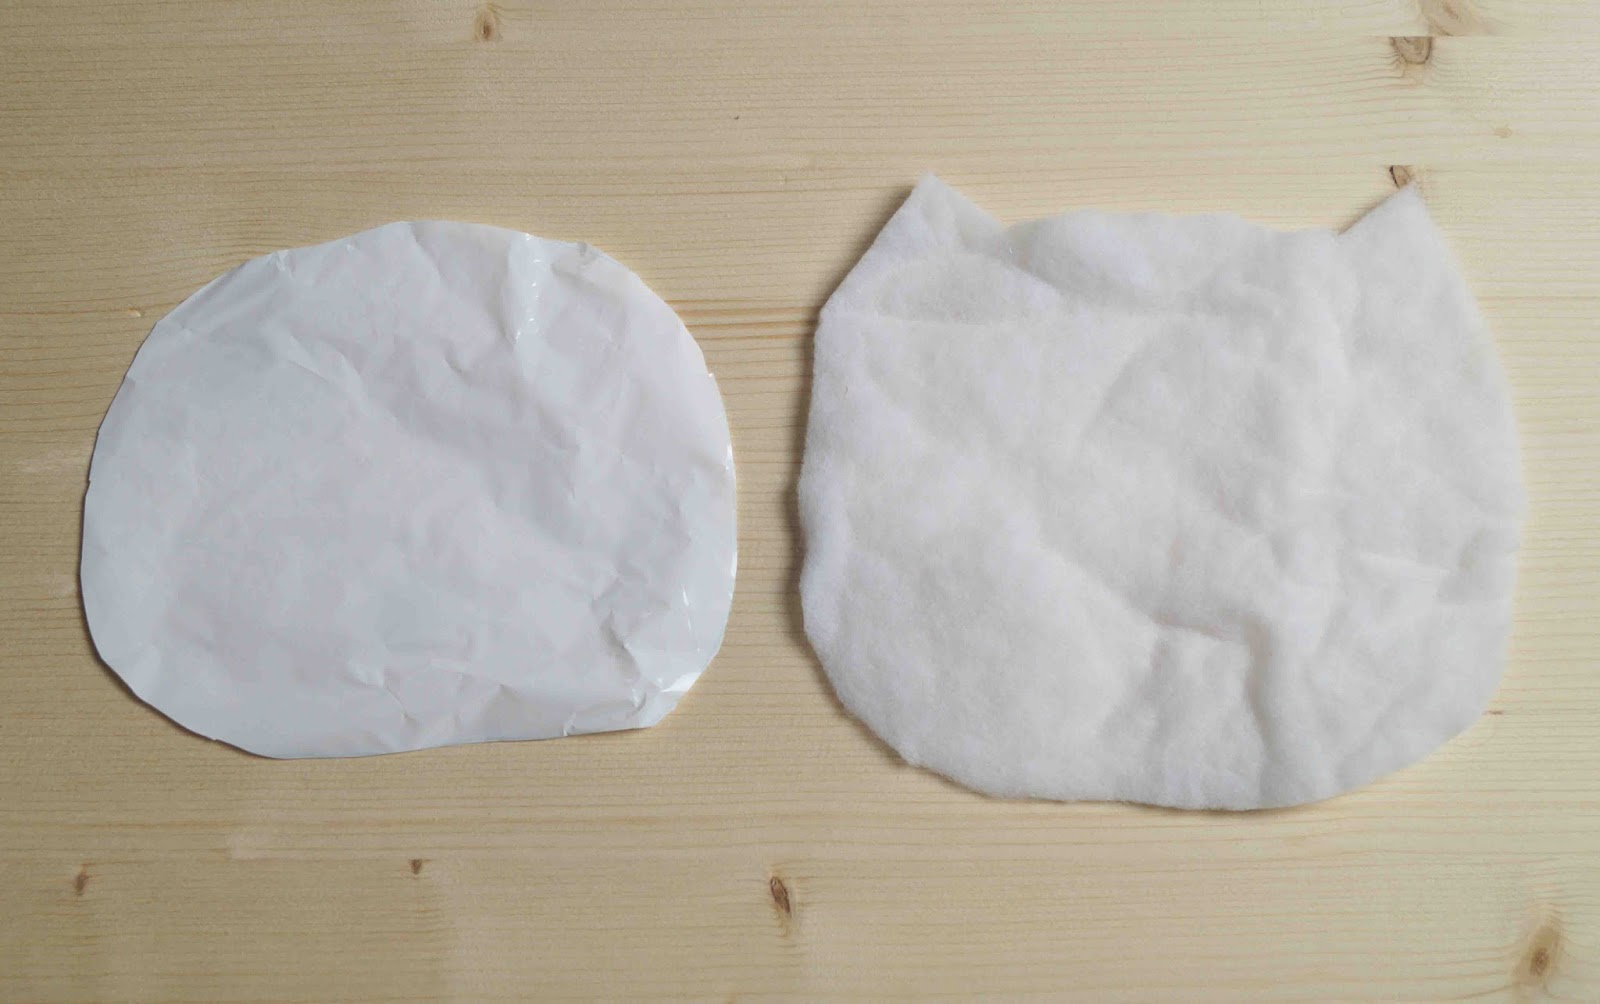
2– A continuación, cortamos la guata y la bolsa con la forma del gatito, cosemos la cara con el cuerpo y las dos piezas de tela entre sí, colocándolas derecho con derecho y dejando un hueco para darle la vuelta. Para que quede bien la costura en curva hacemos unos cortes en el margen de costura.
2- Next, cut the filling and the bag in the shape of the kitty, sew the face to the body and both pieces of fabric to each other, matching both right sides and leave a gap so turn the inside out later. Do some cuts on the seam allowance for a good result in the curved seam.
3– Finalmente, introducimos la guata y la bolsa dentro del gato, cerramos el hueco a punto escondido y pasamos un pespunte para marcar las orejas y en la línea que separa las dos telas. Así evitaremos que se desplacen la guata y la bolsa.
3- Finally, turn the inside out, place the filling and the bag inside the cat, close the gap using hidden stitch and make a back stitch to draw the ears and also on the line separating both fabrics. This way you will prevent the filling and the bag from moving.